
Going on Vacation
עברית למטה Hi Quilters! I know it’s been a really long time since I’ve posted anything. It’s been a hard, sad, scary and crazy year


I took a slight detour with my last post. I was about art quilting, but it was a different type of art quilting – fabric collage. Now I’m back on track with my more photo-realistic art quilts. In case you missed it, here’s a link to Modifying and Printing Your image – the first blog post in the series.
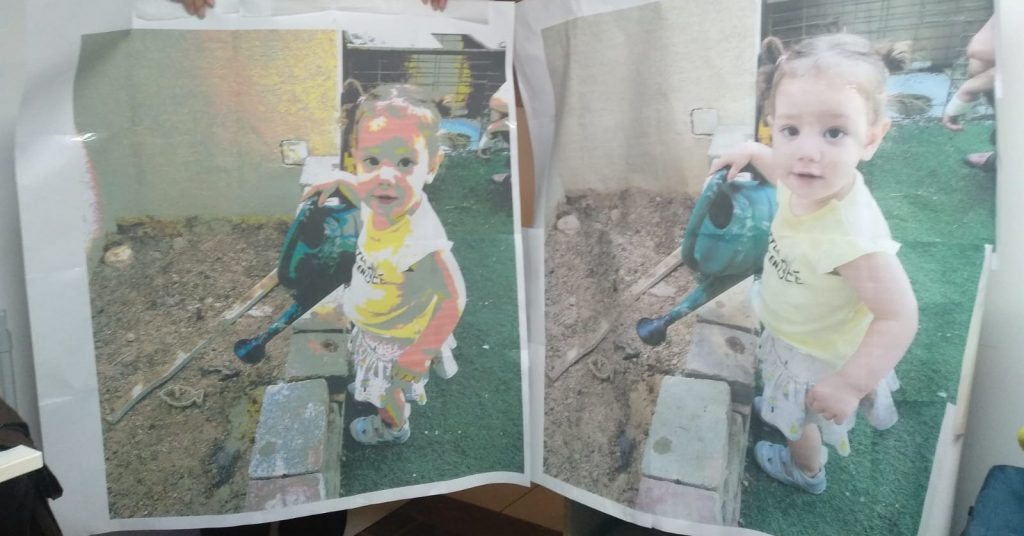
After I printed out the picture of my granddaughter, Shaked, I realzed it was just too large. I sized it to be 85cm wide instead of a full meter. It just looked better to me.
We need to Posterize the image in order to figure out how to cut the fabrics.
Posterizing an image is basically reducing the number of colors in the image. Images have a ton of colors. We need to reduce the number to make it manageable for creating the image with fabric.
To Posterize, click the Image menu item and select Adjustment Posterize.
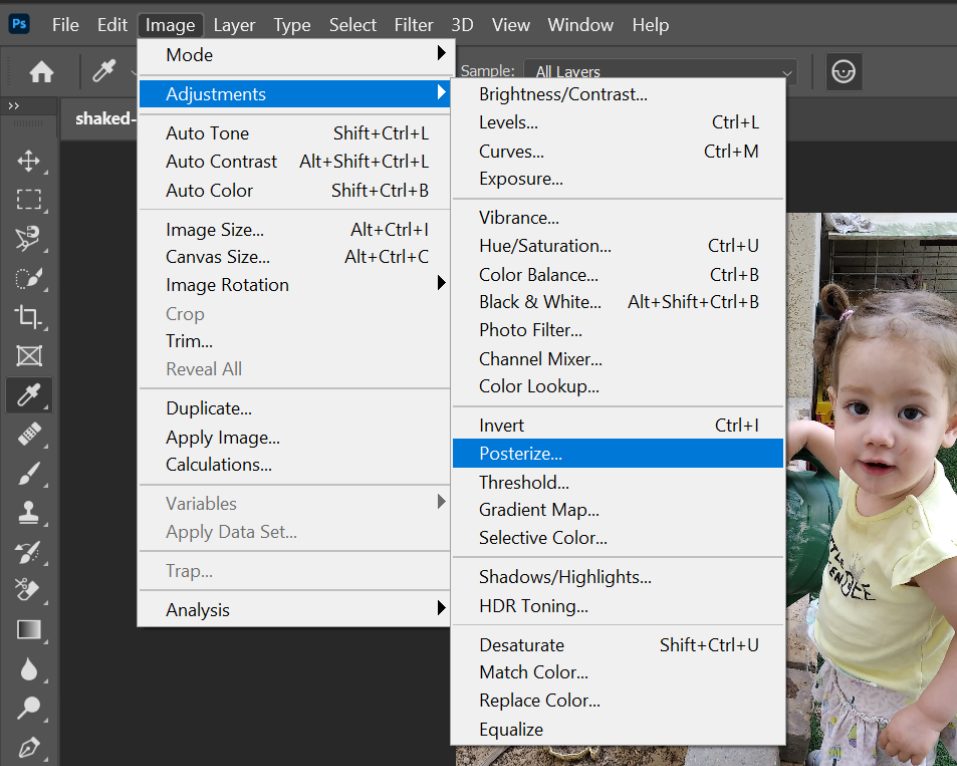
You’ll get a Posterize popup. From there, we can make the adjustment. You sometimes need to play with the level of posterization. The higher the number, the more fabrics that you’ll need. Level 4 or 5 usually works well. Because this is a picture of a child, there are fewer changes in tone for the image, so I also posterized to level 3.
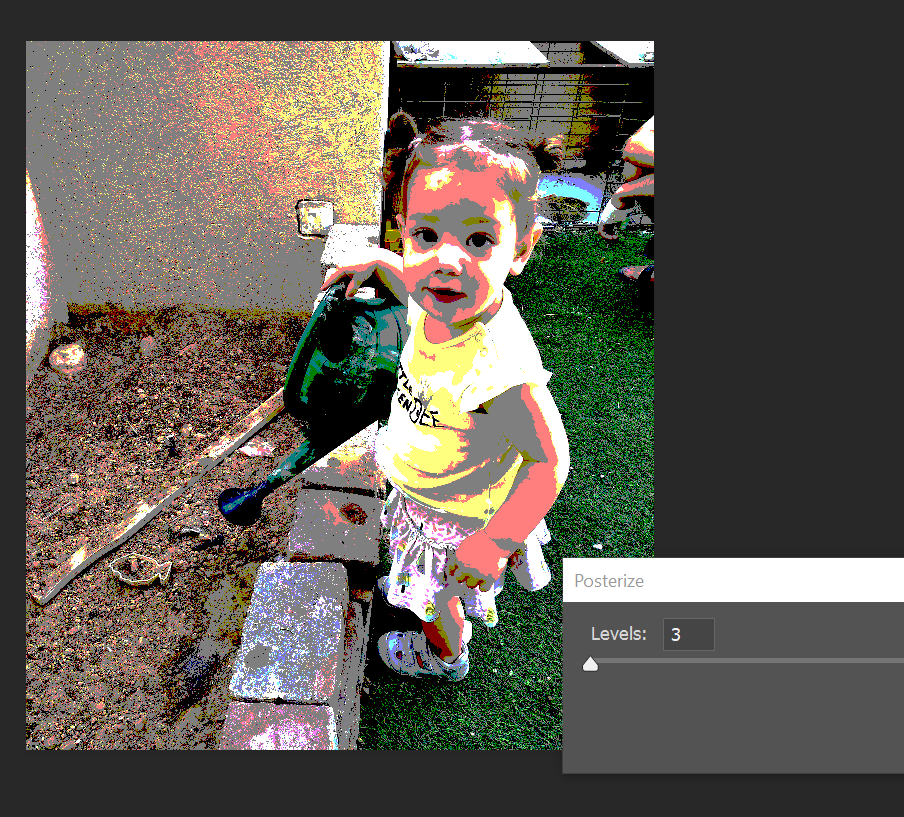
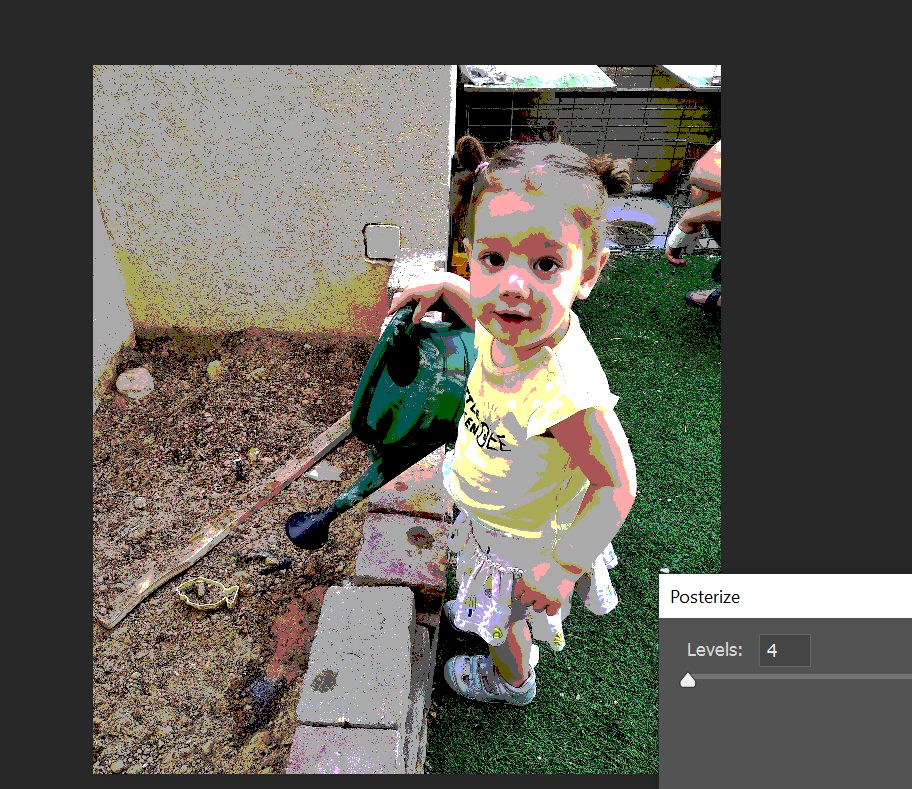
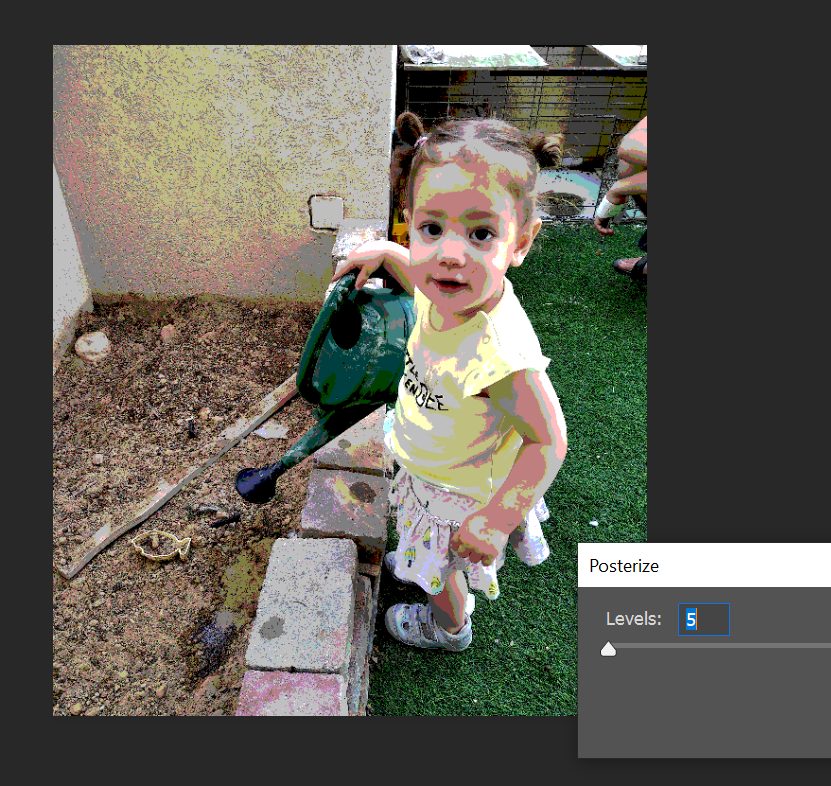
In this case, I like 3. It gives enough definition, so you can see the nose, and Shaked’s face doesn’t seem as grainy as in the other posterizations. That’s for the main part of her face. For her lips and eyes, I’m going to use level 5. In level 3, they just get lost.
When you are happy, select File from the menu and click Save As, the same way that we saved the image after cropping. I saved this image as shaked-gardening-85-width-posterized-3.psd. Then save the image as a PDF, with the same name, but with the pdf extension, so that it is easier to find. The other parts of her face, I’ll print out separately later on.
If you decided to print your image at home, piece it together. The posterized version is what we use to create our pattern pieces. The full color version is what we use to match our fabric colors. We’ll talk about that more in a future blog post.
There is a lot of prep before you actually touch fabric. If you have any questions about what I’ve written, feel free to leave a comment or contact me here.
Stay tuned… Next time I’ll talk about creating the background. (Yes, we finally get to talk about fabric.)
עברית למטה Hi Quilters! I know it’s been a really long time since I’ve posted anything. It’s been a hard, sad, scary and crazy year

עברית למטה Wow! What a year it’s been. It’s hard to believe that Rosh Hashana is here already. How exciting! There are so many things
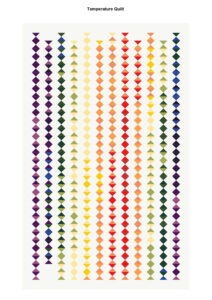
עברית למטה As the year ends and the temperature drops it’s time to think about making a temperature quilt. It’s more fun to quilt when