
Going on Vacation
עברית למטה Hi Quilters! I know it’s been a really long time since I’ve posted anything. It’s been a hard, sad, scary and crazy year


After finishing “First Steps,” I thought that I would take some time to explain the process of making these types of Art Quilts. I’m starting a new project now. Here’s how to get started.
I’m creating a photo reproduction art quilt. I use Adobe Photoshop and Acrobat to modify and print the images that I need to create the quilts. There are a lot of photo editing programs out there. I’ve tried a few others, but this is what works best for me.
When you look for a picture to work with, try to get one that is in focus and high resolution. If you are just starting, it’s probably a good idea to start with something that’s not too busy.
Photoshop is a very powerful photo editing program. Obviously there are a lot more things that you can do to the photo before you save either the photo or the posterized photo. If you are feeling adventurous, you can try Auto Tone, Auto Contrast, and/or Auto Color to help sharpen the image.

For this project, I’ve chosen a picture of my granddaughter, Shaked.
Step one: Crop the picture to the size that you want.
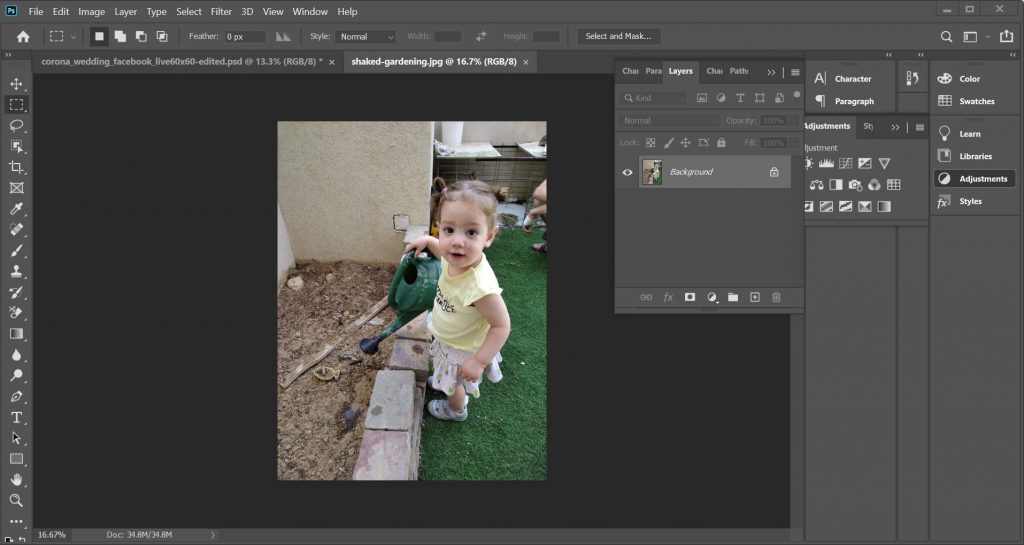
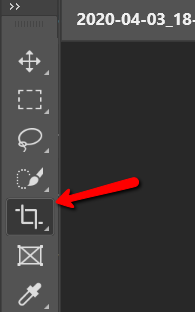
After you load the image in Photoshop, select the crop tool.
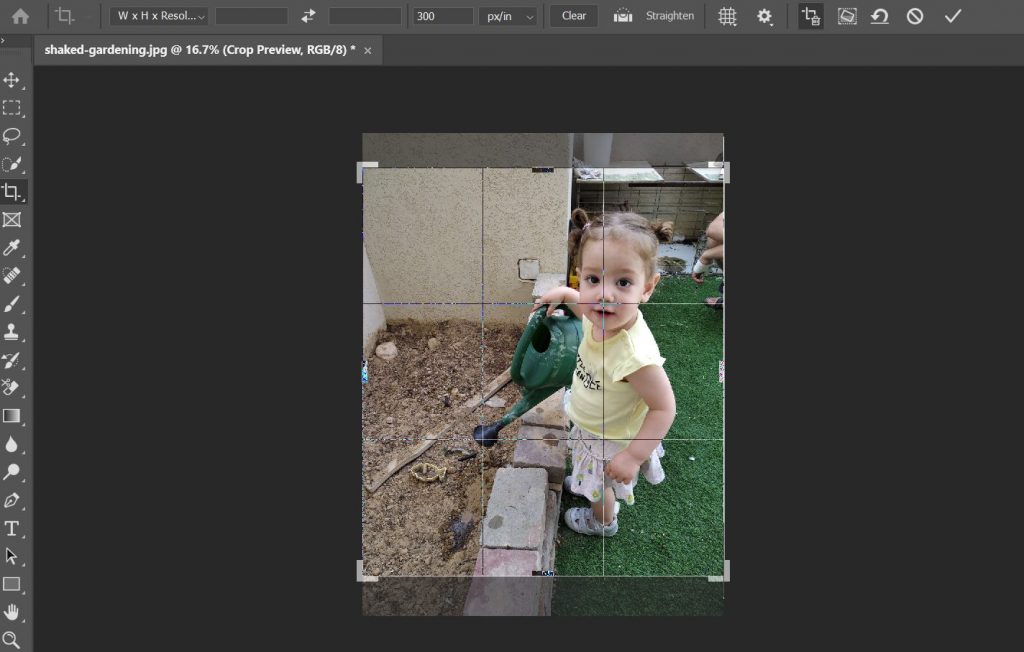
If I wanted a specific size for the finished quilt, I could set the exact size in the crop toolbar. For a different quilt I was working on, I needed the size to be 60cm x 60cm. After you click the crop tool, you will get a toolbar at the top of the screen.

In this toolbar, you can set the width and height of the final image that you want to print. Move the image to get the crop that you would like. You can also stretch and shrink the area that you want to crop. Since the height and width are set to the same proportions, it will stay that size.
Make sure to keep the resolution high. You can see here that I have it set to 300 px/in – that’s 300 pixels, or dots, for each printed inch.
Hit enter or click the checkmark at the end of the crop menu and it will be all set.
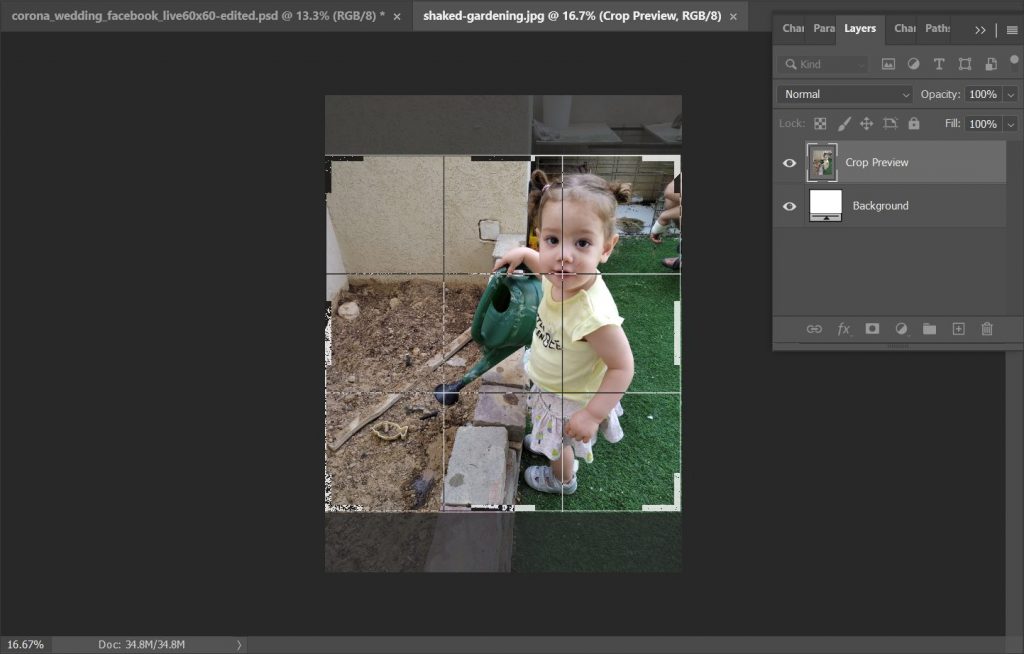
For this image, I’d like to be a bit more organic. I’d like to crop the image so that it gets what I want to see in it. For that, I’ll make sure that the dimensions are cleared away and make my selection. Doing that allows me to drag and drop the grid lines to include exactly what I want in my quilt.
It’s really nice that Photoshop gives you the grid to play with. There is something called the “Rule of Thirds” in photography. The idea is that things look more natural and are more pleasing to the eye when the interesting parts are a third of the way from the edges . When I crop images, I try to keep that in mind. In this image, I have the intersecting lines of the top left third on Shaked’s cute little nose. After you have selected how you want to crop the image, hit the checkmark on the crop menu or enter.
From the Image menu select Image size and this will pop up:
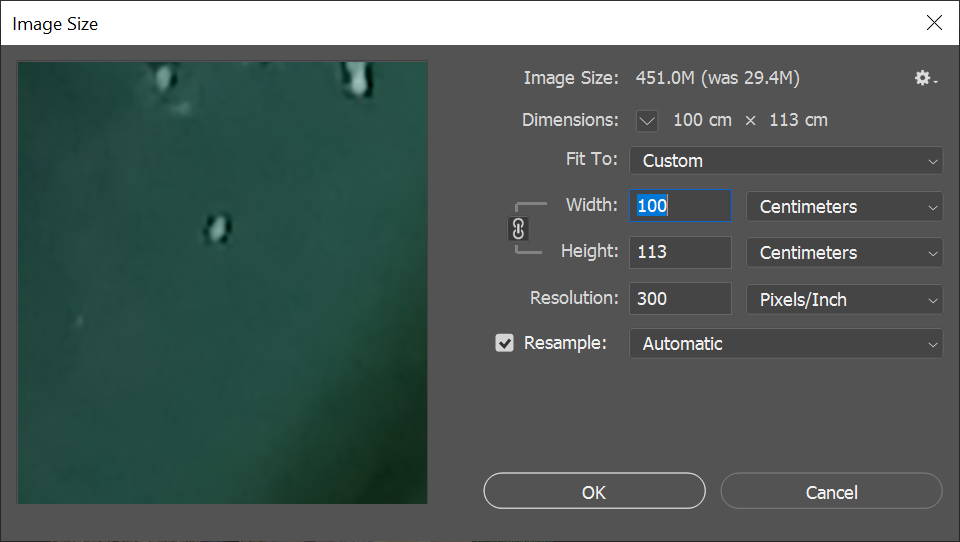
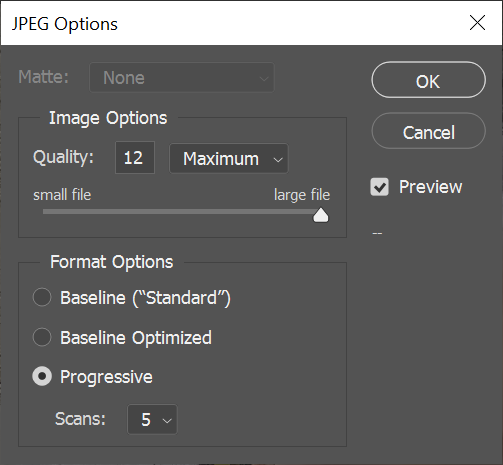
Set the cropped image to the size that you want to print. I want the final quilt to be a meter wide. The height gets set automatically to match the width. If you have a specific height that you want, it works the same way. Make sure that the resolution is set high here as well and click OK. Save the file. To do that, click the File menu and select Save As. Change the name to something meaningful. In this case, I saved it as shaked-gardening-100-width.jpg. This lets me know what’s in the image as well as its printed size. Make sure when you save that the image quality is set to maximum and the format options are set to progressive. Those settings are the best to get a sharp, clear image.
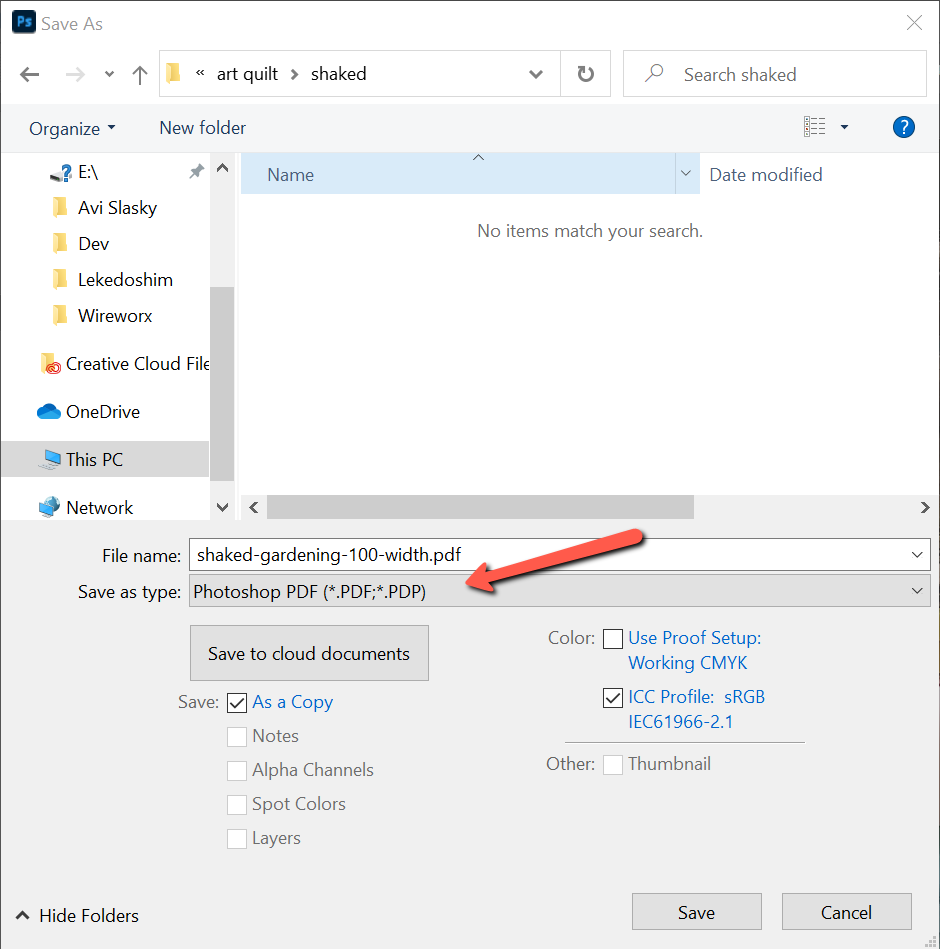
Then save the image as a PDF file. It’s much easier to print large images from Adobe Acrobat than from Photoshop. In Photoshop, click the File menu and select Save As. Switch the Save As type to Photoshop PDF and save under a name that makes sense to you.
I save the PDF as a copy, so that I can continue working on the jpg file. There are a few different types of art quilts we can make from here. Some use a technique called posterizing, some need other types of cropping. I’ll cover those in a future blog post.
If you would like to print it on your home printer, you’ll need to do that in Adobe Acrobat. If you don’t, you can send the pdf images to a print shop and you’re done.
Open the file in Adobe Acrobat Reader. You don’t need the paid version of this software. The free Acrobat Reader if fine. Click on the File menu item and select Print. This will open the Print dialog box. Select Size and make sure that Actual Size is selected.

Then click the Poster button. I like to set the Overlap to .5 inches. It will make it easier when you put the pieces together. It gives more wiggle room.
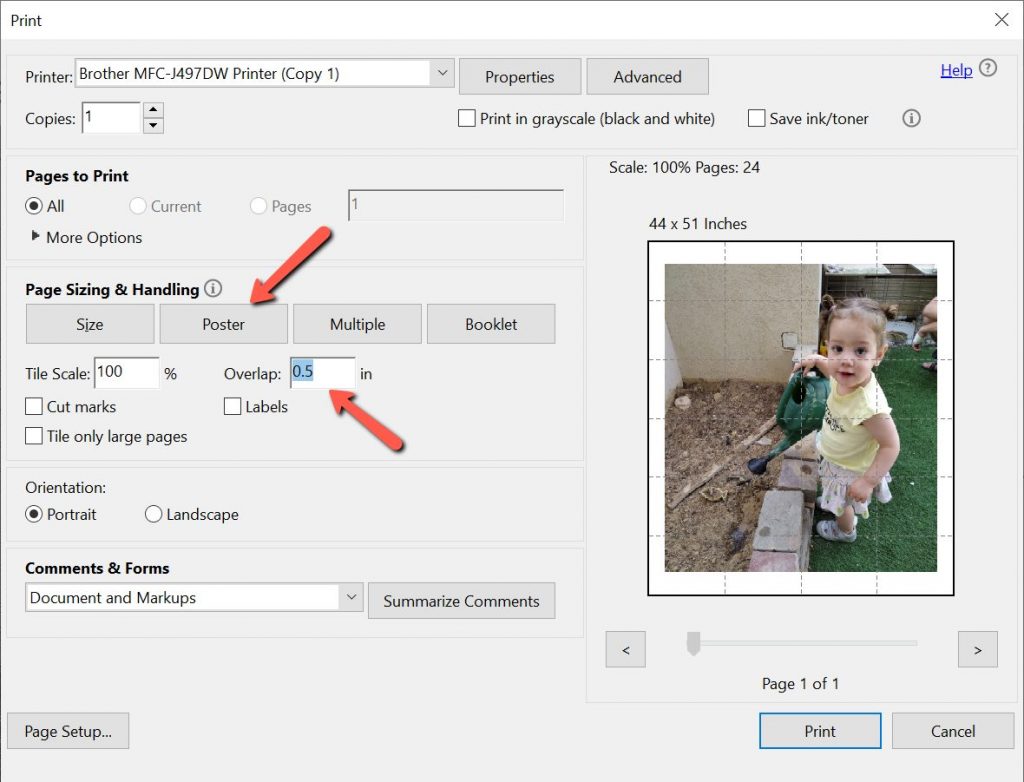
You can switch from Portrait to Landscape if that makes more sense for your image. Click Print.
Now it’s puzzle piecing time. Tape the pages together to create the image you will be working with to create your quilt. Tape the pages on both the top and the bottom to ensure that they stay together.

This is my map for the quilt that I’ll be making of Shaked. I like to print out the whole image to get a feel of the size before I get started. For this quilt, I will posterize more of the image, but I want to work on the background first, so I’ll leave that for later.
There is a lot of prep before you actually touch fabric. If you have any questions about what I’ve written, feel free to leave a comment or contact me here.
Stay tuned… In the next couple of blog posts, I’m going to talk about other image manipulations you can do to get you on your way to making your very own art quilt.
עברית למטה Hi Quilters! I know it’s been a really long time since I’ve posted anything. It’s been a hard, sad, scary and crazy year

עברית למטה Wow! What a year it’s been. It’s hard to believe that Rosh Hashana is here already. How exciting! There are so many things
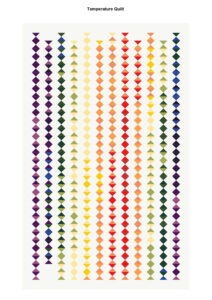
עברית למטה As the year ends and the temperature drops it’s time to think about making a temperature quilt. It’s more fun to quilt when