
Going on Vacation
עברית למטה Hi Quilters! I know it’s been a really long time since I’ve posted anything. It’s been a hard, sad, scary and crazy year


This is it. We’re heading for home! All our pieces have been placed. Now the time has come to add the finishing touches!
There are basically three reasons for quilting your quilt:
Although I love quilting, I wanted to keep it a bit light for Shakedie’s face. There are some amazing thread artists out there, like Kate Themel, Lea McComas and Hollis Chatelain, that are able to get a lot of definition with their quilting.
The problem with kids (and I’m only talking in the quilting sense) is that if you don’t do it right, you wind up giving the poor kid wrinkles. There is no way that I could do that to my poor Shakedie! I opted for keeping the pieces in place and allowing the fabric to give the definition for the features. The only exception that I made was her nose. That needed definition, and it got some extra stitching.
I tested out some stitching on a sample that I made. Yuck. I know that it would have been better if I used blending thread.
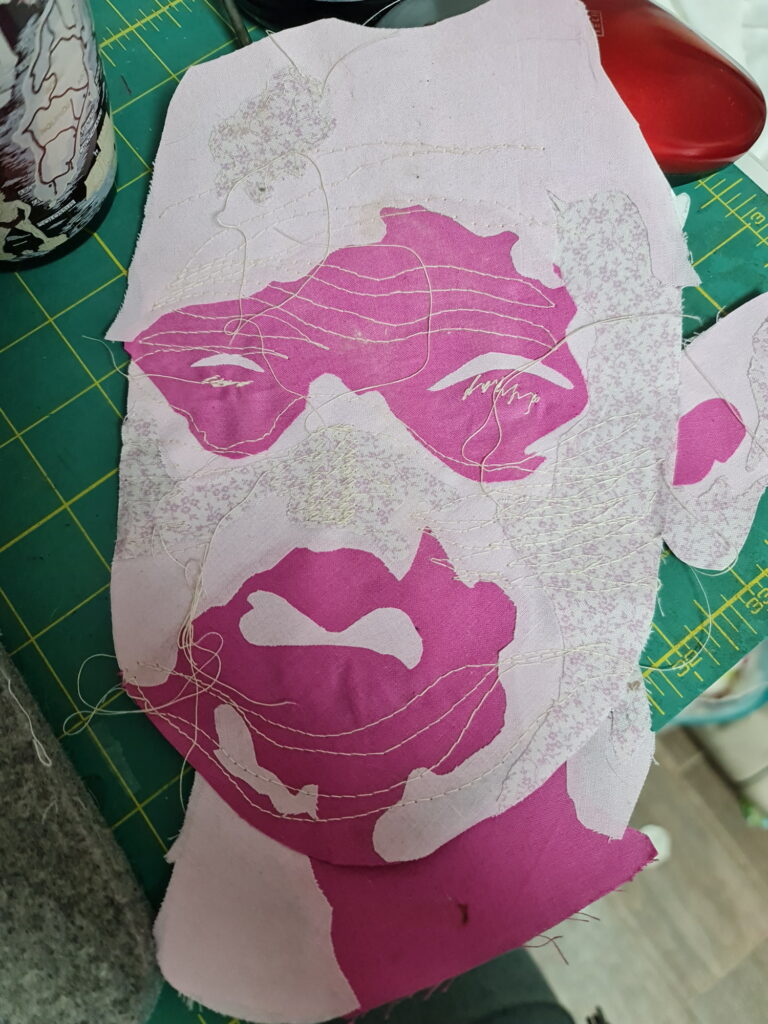
The basic idea with thread painting is that you need to follow the contours of the object. That gives a more rounded effect than just using fabric. It is important to study the shape of the object. If you do decide to go that route, and it is a wonderful route to go, I suggest studying how people like Kate Themel, Lea McComas, and Hollis Chatelain work.
Here are my takes on thread painting:
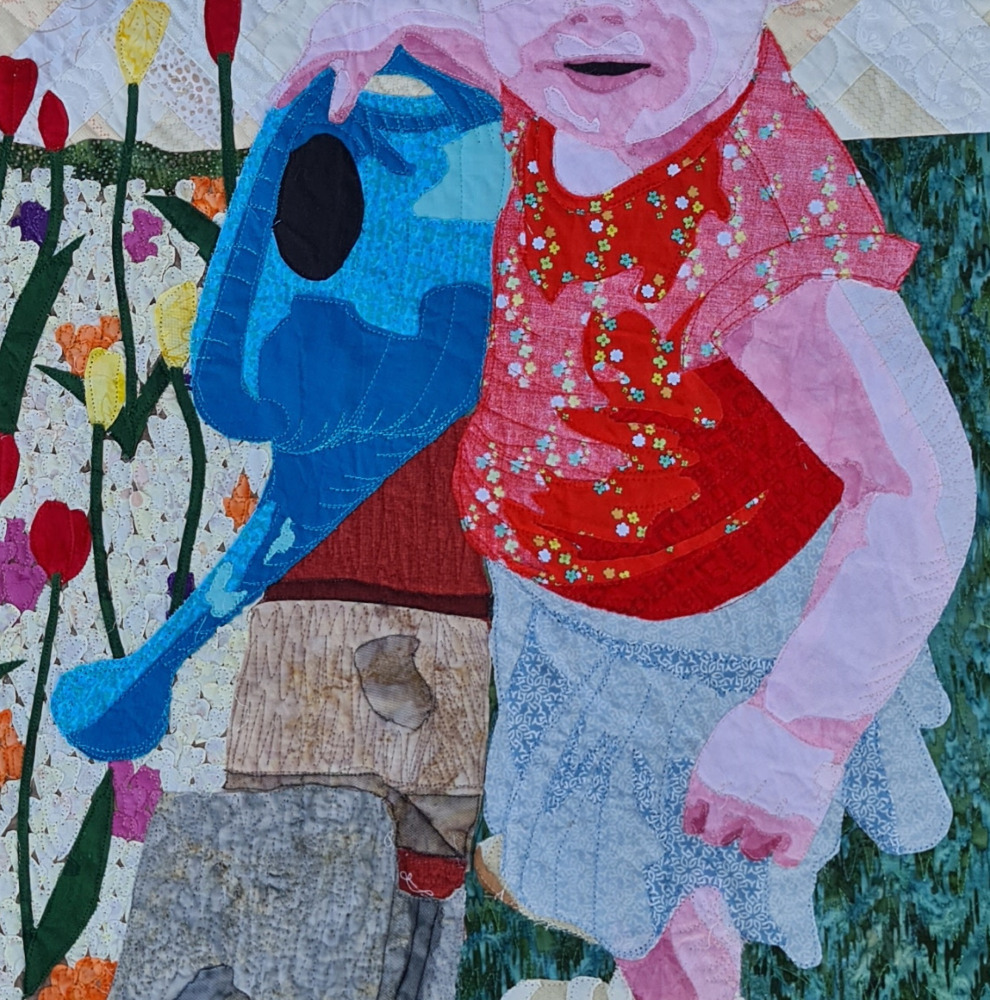
For the arms and legs, I did add a bit of extra quilting to give a bit more definition. That’s as far as I was willing to go for now.
I didn’t add eyelashes with fabric. Here’s where I came in and added them with contrasting brown thread.
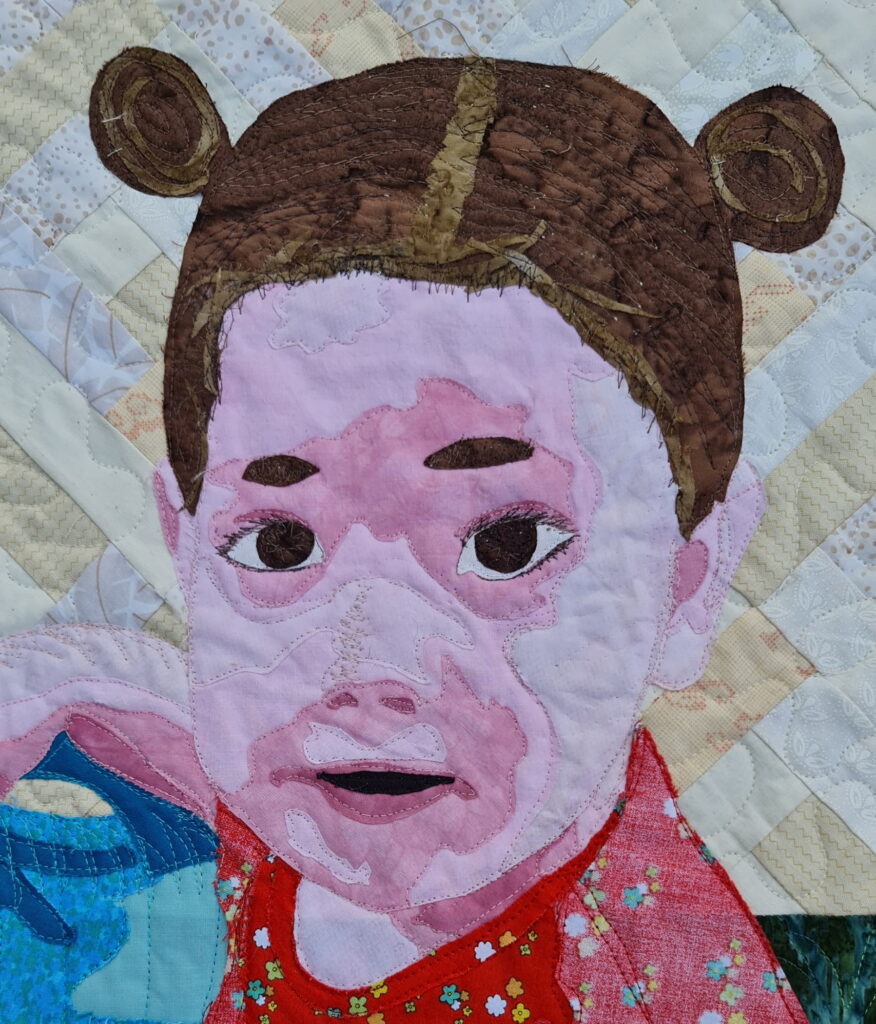
Her hair got a lot more attention. I followed from her part line, down in a curve, the same contour that her hair actually grows. Where her hair and her forehead meet, I went a bit over on purpose to soften the hairline.
For the watering can and her clothes, I added definition by adding the quilting lines where the crease was in the picture. The roundness of the watering can only be seen with thread.
After all the quilting is done, the quilt still needs to be cut and bound. Instead of actually binding the quilt, I used quilt facing. It’s just like binding, but you pull the “binding” fabric to the back so that it can’t be seen. On a regular quilt, I will miter the corners. If you use this method, you need to work in strips.
Wow, that was a lot of work, but it was a labor of love the whole way!
If you have any questions, as always, feel free to contact me. I always love talking about quilts and sharing what I know.
עברית למטה Hi Quilters! I know it’s been a really long time since I’ve posted anything. It’s been a hard, sad, scary and crazy year

עברית למטה Wow! What a year it’s been. It’s hard to believe that Rosh Hashana is here already. How exciting! There are so many things
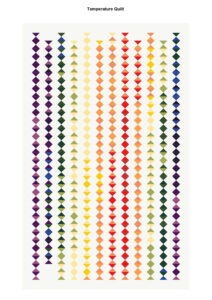
עברית למטה As the year ends and the temperature drops it’s time to think about making a temperature quilt. It’s more fun to quilt when