
Going on Vacation
עברית למטה Hi Quilters! I know it’s been a really long time since I’ve posted anything. It’s been a hard, sad, scary and crazy year


I love buying fabric. It’s a bit of an obsession of mine. I’m always looking for good sales online. This past Black Friday/Cyber Monday, I went a bit crazy, but we aren’t going to talk about that right now. Shopping online, I tend to lean to getting precuts. My precut of choice – fat quarters.
In case you don’t know what a fat quarter is, it’s a half yard cut in half widthwise, or 18″ x 22″ (or somewhere in that neighborhood). It is my mission in life to use each fat quarter as efficiently as I can. (Some people may try to save the world. I have more modest dreams.)
When I saw the cutest fabric ever in a 6 pack of fat quarters, I knew that I had to get it. I also new exactly who I was going to make the quilt for. (Actually, I only knew the parents of who I was going to make it for, but you get the idea.)
In my strive to be efficient, I started looking up ways to cut up fat quarters. I had 6 fat quarters to play with, so I cut 9 – 6 inch squares out of each. 6 x 9 makes 54 squares. Next thing to do was come up with a rectangular shape that worked well with 54 pieces.
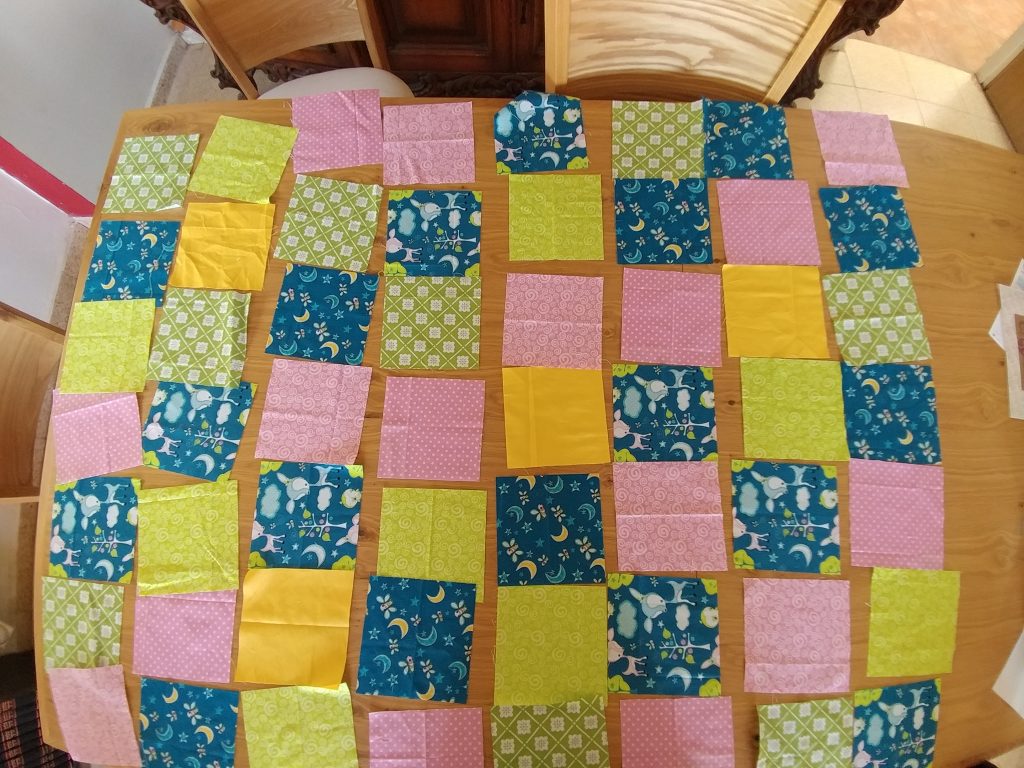
I know that I only had 54 squares, but I wanted to add another color to the mix to make my stars, so out of scrap yellow fabric that I had around, I cut out the number of stars that I wanted, which was four. I went with 7 x 8 for my layout, which is 56, leaving me with two extra squares to play with another day.
I laid out the squares and I started making star points on the squares that touched the yellow squares. I covered the corners with the yellow fabric – right side up to make sure that it would cover the corner – and flipped it so that right sides faced each other. Then I sewed the corner on. After pressing the corner down, I used the original square as my template for cutting the remaining yellow fabric off.
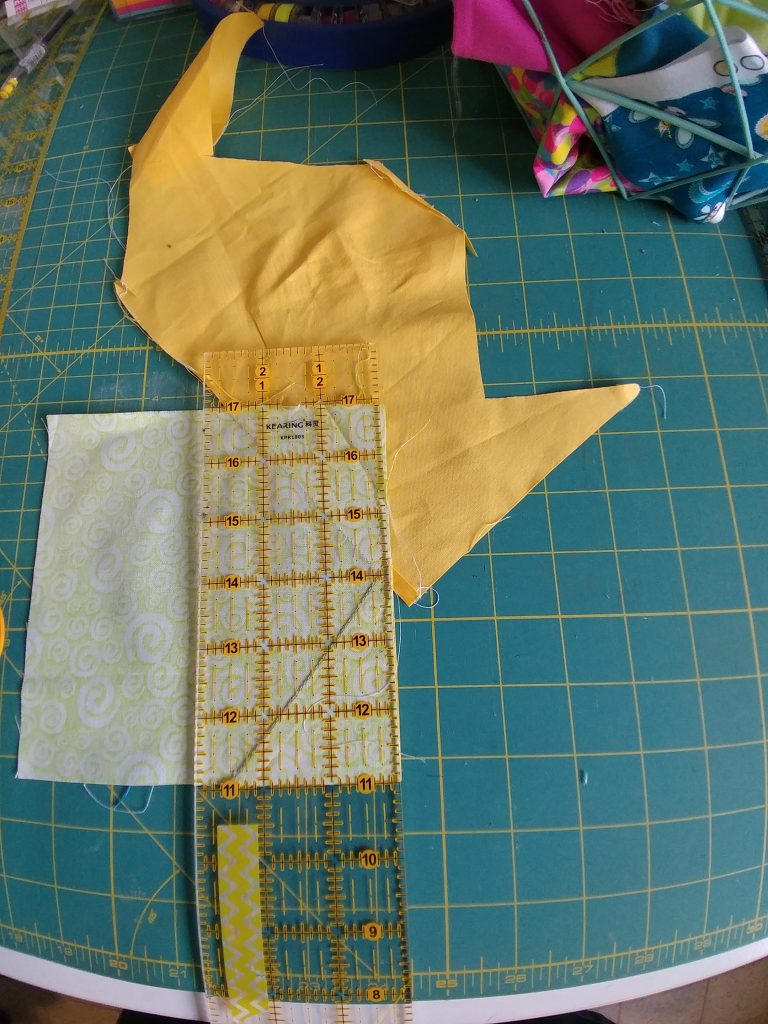
I then cut non-star fabric to leave only 1/4 inch seam allowance. One thing that I was careful about was that when I put on the second star point, it intersected with the first, leaving 1/4 seam allowance.
I put all the pieces back, and I stacked them up to make sure to sew them in the correct order.
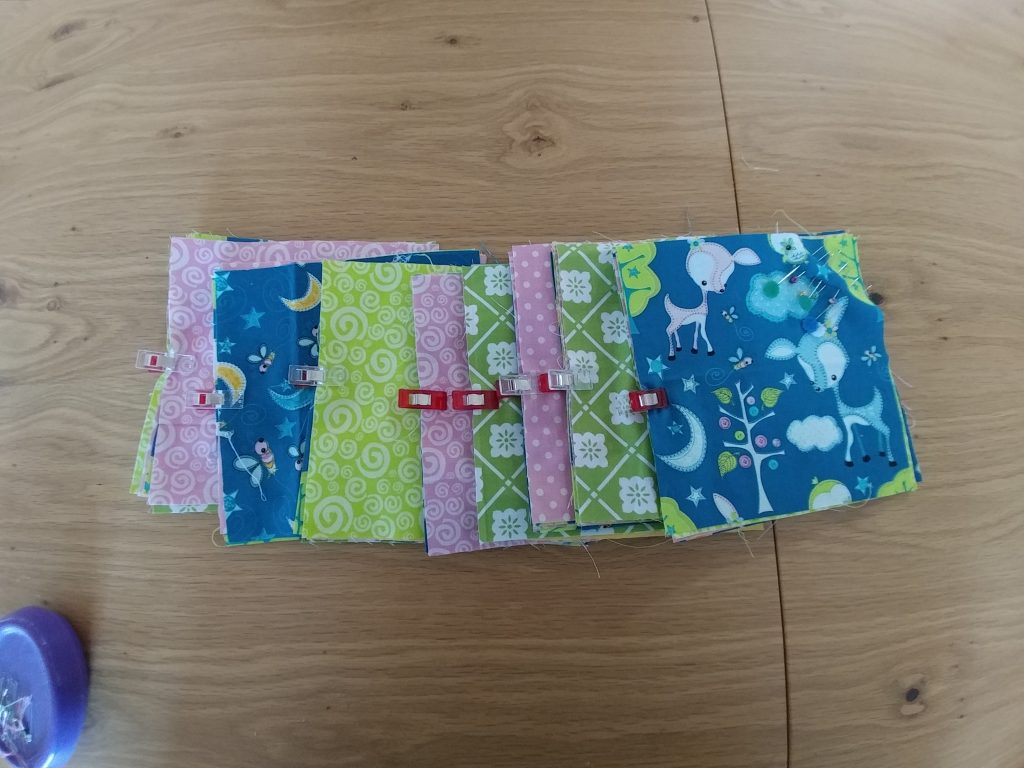
One thing that I have stared to be very careful about is that I make sure to leave a clip, or some sort of sign on what the first block in the row is. It can sometimes get confusing when your piecing, and this makes sure that I connect the blocks in the order that I want.
After piecing the whole top together, it was time for the quilting. This quilt was one of the first ones that I did on my new long arm quilting machine. I had so much fun doing it. Each of the different fabrics got their own pattered, excluding the fabrics that touched the star cores. For those, I radiated out straight lines from the center. I added an inline border to the stars themselves and quilted an allover swirl design.
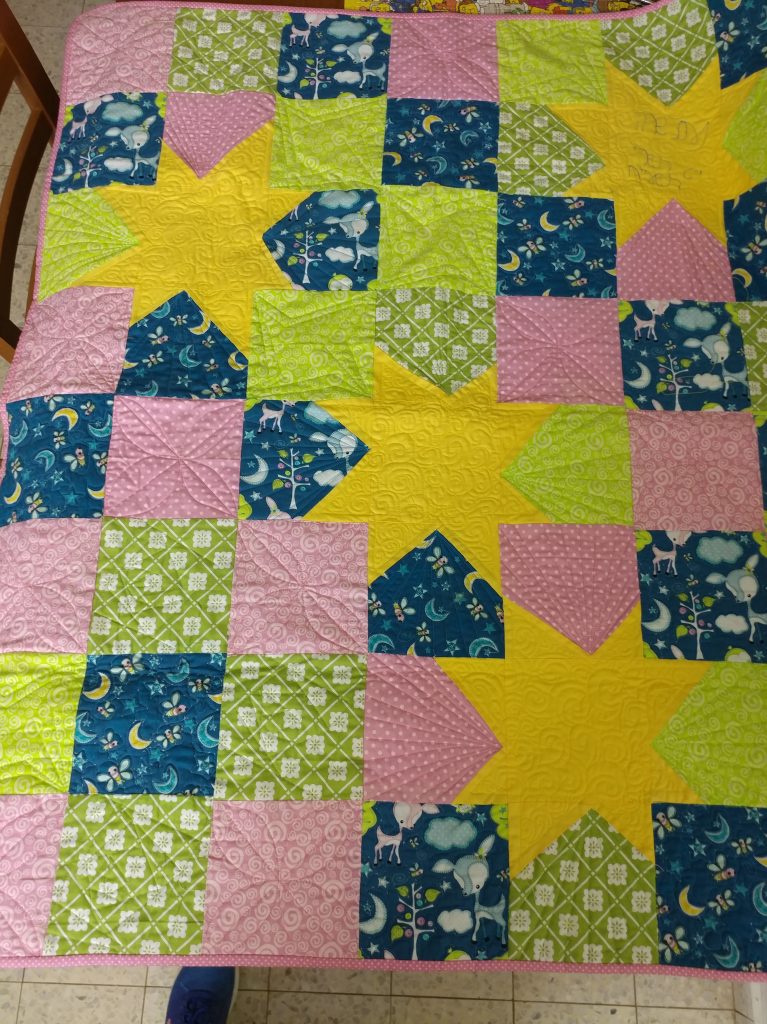
I used different color thread for the different block. I kept the same neutral thread in the bobbin for all the colors. Because I quilted with different threads and a long arm with the little foot table, it meant loading the quilt and moving it through quite a few times. It was worth it. I totally love the way it came out.
I usually follow other peoples’ patterns when I quilt. It was really fun coming up with my own design. I’m totally going to have to do this more often!
עברית למטה Hi Quilters! I know it’s been a really long time since I’ve posted anything. It’s been a hard, sad, scary and crazy year

עברית למטה Wow! What a year it’s been. It’s hard to believe that Rosh Hashana is here already. How exciting! There are so many things
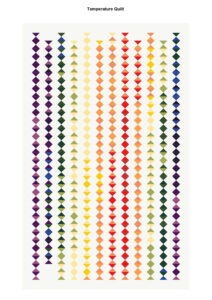
עברית למטה As the year ends and the temperature drops it’s time to think about making a temperature quilt. It’s more fun to quilt when