Going on Vacation
עברית למטה Hi Quilters! I know it’s been a really long time since I’ve posted anything. It’s been a hard, sad, scary and crazy year

עברית למטה
I hope that everyone had a fantastic holiday season! Now that they are over, it’s time to get back to sewing!
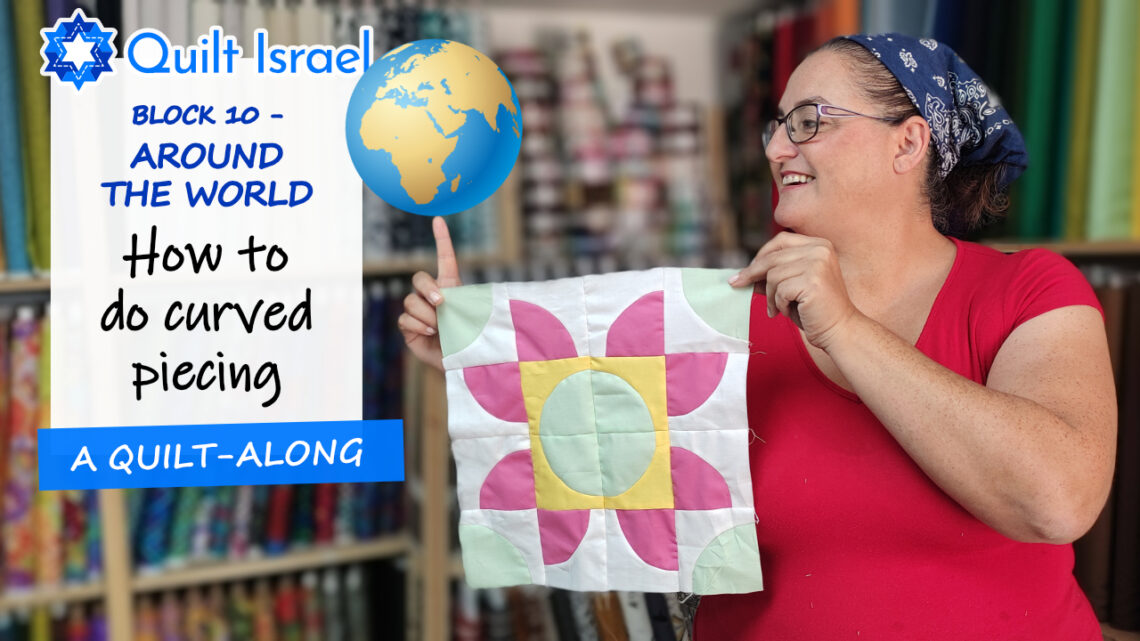
I love curved piecing. It has a bad reputation for being difficult, but it really doesn’t have to be! This video shows how to make it easy-peasy, both using pins and glue.
Afraid of cutting? No need to be. I’ve created a new downloadable template to make things go fast and easy. You can find it on the downloads page here: https://quiltisrael.com/free-quilting-patterns/ If you’d rather use plastic templates, no worries! You can buy them from the shop here: https://quiltisrael.com/product/perfect-patchwork-templates-drunkards-path.
I love using a stapler for holding all the fabric pieces together. It makes it so that nothing shifts during cutting, which is especially important with curved cutting.
Pins work for attaching your pieces before sewing, but glue is so much faster! I like to use a Sewline glue stick. I’ve tried using non-sewing glue sticks before, but they are too wide to be able to get the thin line that I need. I have them in the store: https://quiltisrael.com/product/water-soluble-glue-pen-blue
The fabric requirements for this block differ, depending on how you cut your fabric. If you use plastic templates, like Marty Mitchell you’ll need:
For the downloadable templates, you’ll need:
I hope you enjoy this video!
All my best,
Rena
אני מקווה שלכולם הייתה תקופת חגים נפלאה! עכשיו כשהם מאחורינו, הגיע הזמן לחזור לתפירה!
אני אוהבת חיבור חתיכות מעוקלות. יש לו מוניטין רע שהוא קשה, זה ממש לא חייב להיות! הסרטון הזה מראה איך לעשות את זה קל-פיזי, גם באמצעות סיכות וגם דבק.
מפחדים לחתוך? אין צורך להיות. יצרתי תבנית חדשה להורדה כדי לגרום לדברים להתנהל במהירות ובקלות. תוכלו למצוא אותו בדף ההורדות כאן:
https://quiltisrael.com/free-quilting-patterns/
אם אתם מעדיפים להשתמש בתבניות פלסטיק, אל דאגה! אתם מוזמנים לקנות אותם מהחנות כאן: https://quiltisrael.com/product/perfect-patchwork-templates-drunkards-path
אני אוהבת להשתמש במהדק כדי להחזיק את כל חלקי הבד יחד. זה גורם לכך ששום דבר לא יזוז במהלך החיתוך, וזה חשוב במיוחד בחיתוך מעוקל.
סיכות עובדות, אבל דבק הוא הרבה יותר מהיר! אני אוהבת להשתמש במקל דבק Sewline. ניסיתי בעבר להשתמש במקלות דבק ללא תפירה, אבל הם רחבים מכדי לקבל את הקו הדק שאני צריכה. יש לי אותם בחנות: https://quiltisrael.com/product/water-soluble-glue-pen-blue
דרישות הבד לבלוק זה שונות, בהתאם לאופן שבו תחתכו את הבד שלכם. אם אתם משתמשים בתבניות פלסטיק, כמו מרטי מיטשל (Marty Mitchell), תצטרכו:
עבור התבניות הניתנות להורדה, תצטרכו:
מקווה שתהנו מהסרטון!
כל טוב,
רינה

עברית למטה Hi Quilters! I know it’s been a really long time since I’ve posted anything. It’s been a hard, sad, scary and crazy year

עברית למטה Wow! What a year it’s been. It’s hard to believe that Rosh Hashana is here already. How exciting! There are so many things

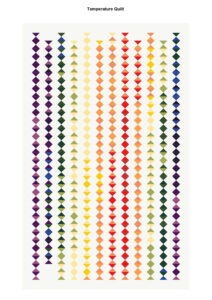
עברית למטה As the year ends and the temperature drops it’s time to think about making a temperature quilt. It’s more fun to quilt when
WhatsApp us