
Going on Vacation
עברית למטה Hi Quilters! I know it’s been a really long time since I’ve posted anything. It’s been a hard, sad, scary and crazy year
I am still on my kick to get the most out of a fat quarter that I can. There are a ton of ways to cut a fat quarter. Every time I start a new project, I always look up different ways to cut them. I found a very useful chart on a very helpful blog called Bright Linen. Ashton Bynum has a ton of cutting guides that I go to frequently. Since the standard size of a fat quarter is 18″x22″, you should be able to get the same cuts from each fat quarter. That works most of the time.
Here is Ashton’s cutting chart for fat quarters:
Since I have a bunch of different fat quarter bundles in my studio and I am always looking for things to do them. One book I use for inspiration in By The Bundle, by Emma Jean Jansen. She has a lot of creative ideas for modern quilts.
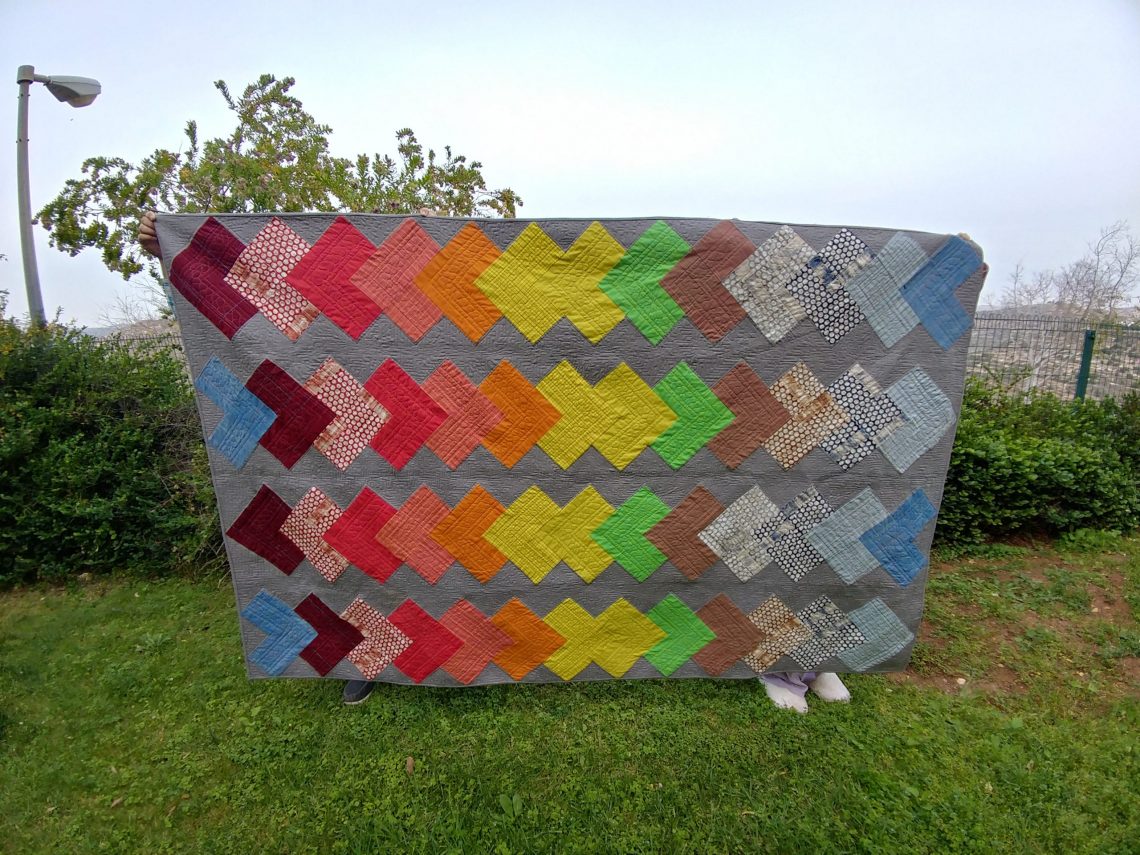
This quilt was destined for my nephew, Ezri. I wanted a guy pattern, and I think this one worked out great. This is now in competition for my favorite quilt. The competition is currently between this one and the one I made for his brother, Raanan. I’ll let them fight it out.
I have a lot of problems actually following patterns. The quilt pattern called for using 10 fat quarters and cutting them into 5″ squares. The fat quarter bundle that I picked out for the project had 14 pieces. I didn’t want the quilt to live without any of them!
According to the cutting chart, I can have the same number of squares if I cut them 5″ or 5 1/2″. Why waste fabric! Instead of cutting out 10 fat quarters to get 120 5″ squares, I cut 14 fat quarter and got 168 5 1/2″ squares. Or so I thought.
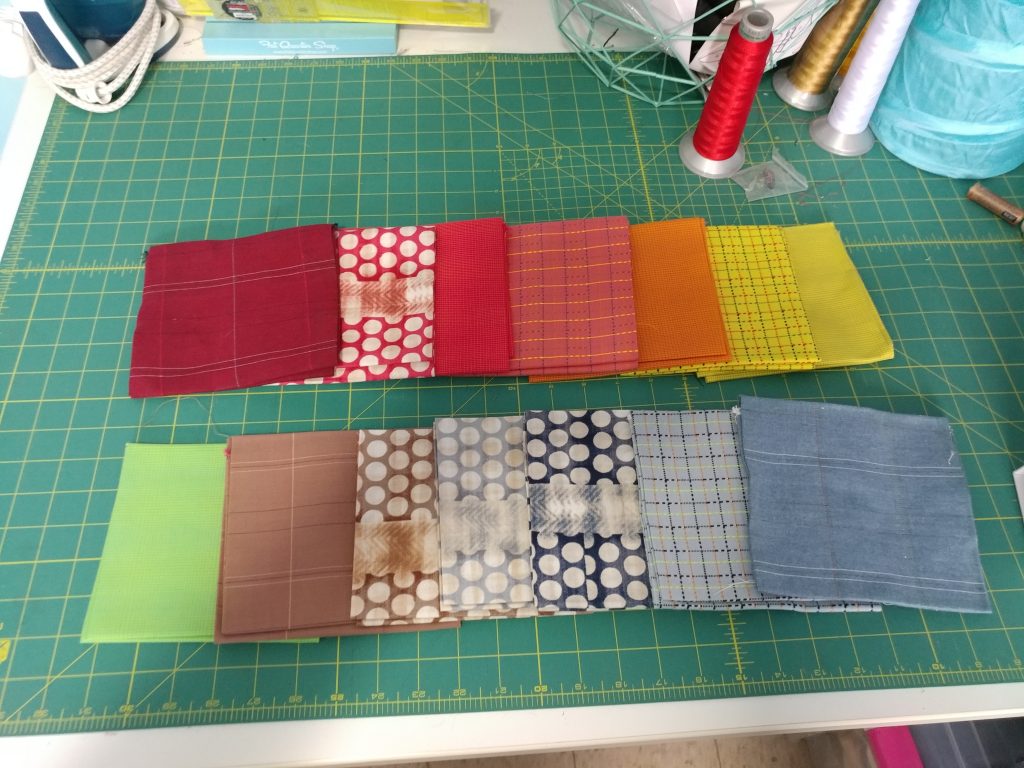
The problem is that I didn’t measure that fabric before I did the cutting. A couple of the fat quarters weren’t quite 22″x18″. Two of the fat quarters (not mention names, but the brown dots and the grey-blue dots) came up a bit short. Most of them were still fine, but I didn’t get all 12 squares out of them that I needed. The way that I saw it, I had two choices: skipping those colors entirely or using six from each of the two sets. I opted to use six and six. ( I know that I could have gone back and recut the other squares to fit, but that wasn’t going to happen.)
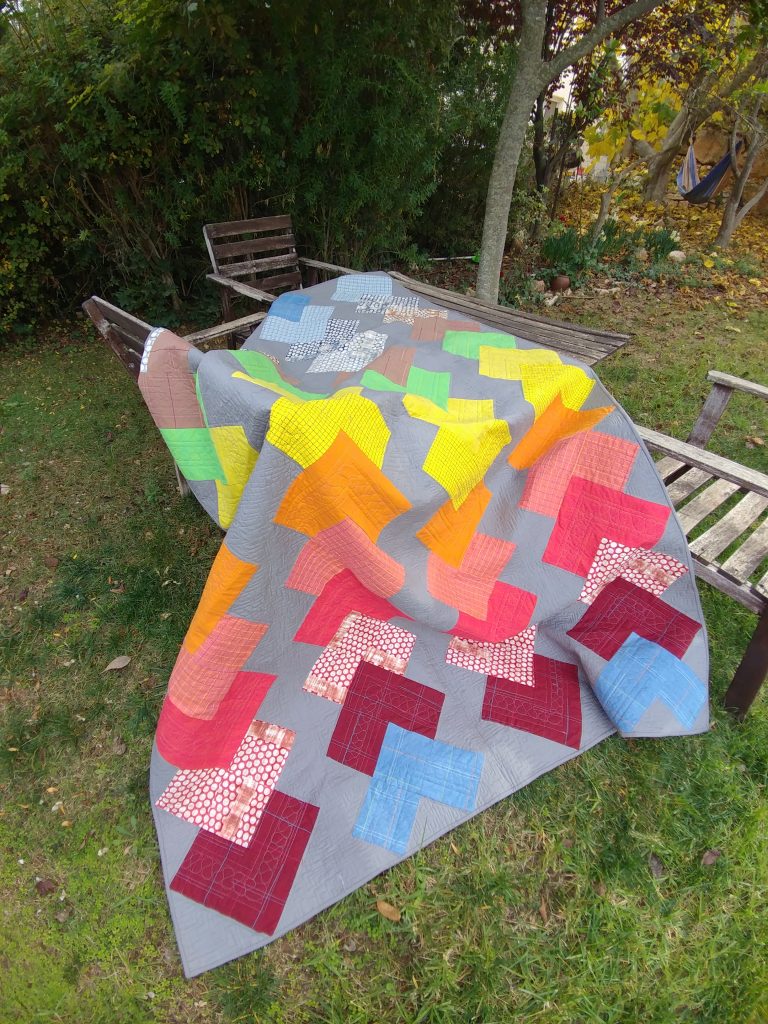
I love the way this quilt came out. I have shown it to a bunch of people, and not one has commented on the “mistake”. Perhaps they are all too polite, but I know my friends, and I don’t think that’s the case.
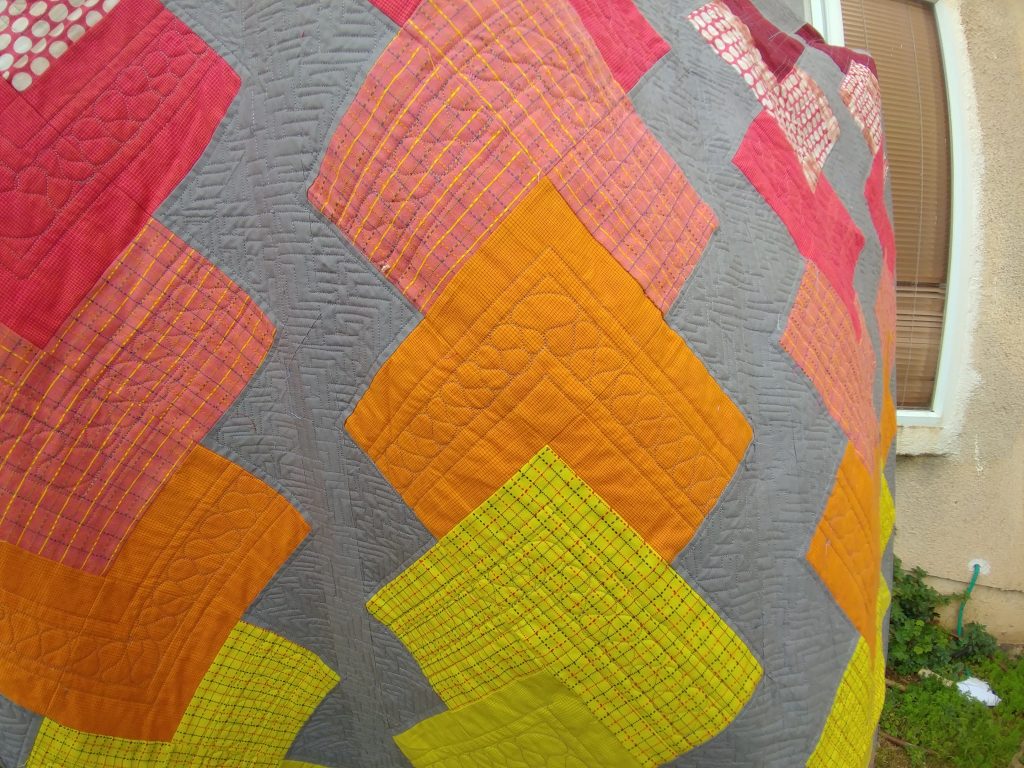
I had a lot of fun quilting this quilt. I wanted to keep the movement of the arrows, so I followed the shape of the arrows with straight lines. I quilted inside each of the arrows to give them more interest. I also quilted the heck out of the background of the quilt to make the arrows stand out more. Instead of quilting the background all the way to the arrows, I framed them.
Would I have followed the pattern if I would have realized that the fat quarters were a bit small? Probably. In the end, I’m kind of glad I didn’t. I got an extra few inches out of the fabric. Will I measure next time? Yes. It’s all a learning process.

עברית למטה Hi Quilters! I know it’s been a really long time since I’ve posted anything. It’s been a hard, sad, scary and crazy year

עברית למטה Wow! What a year it’s been. It’s hard to believe that Rosh Hashana is here already. How exciting! There are so many things
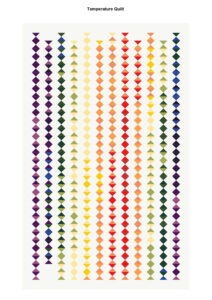
עברית למטה As the year ends and the temperature drops it’s time to think about making a temperature quilt. It’s more fun to quilt when
WhatsApp us