Going on Vacation
עברית למטה Hi Quilters! I know it’s been a really long time since I’ve posted anything. It’s been a hard, sad, scary and crazy year

עברית למטה
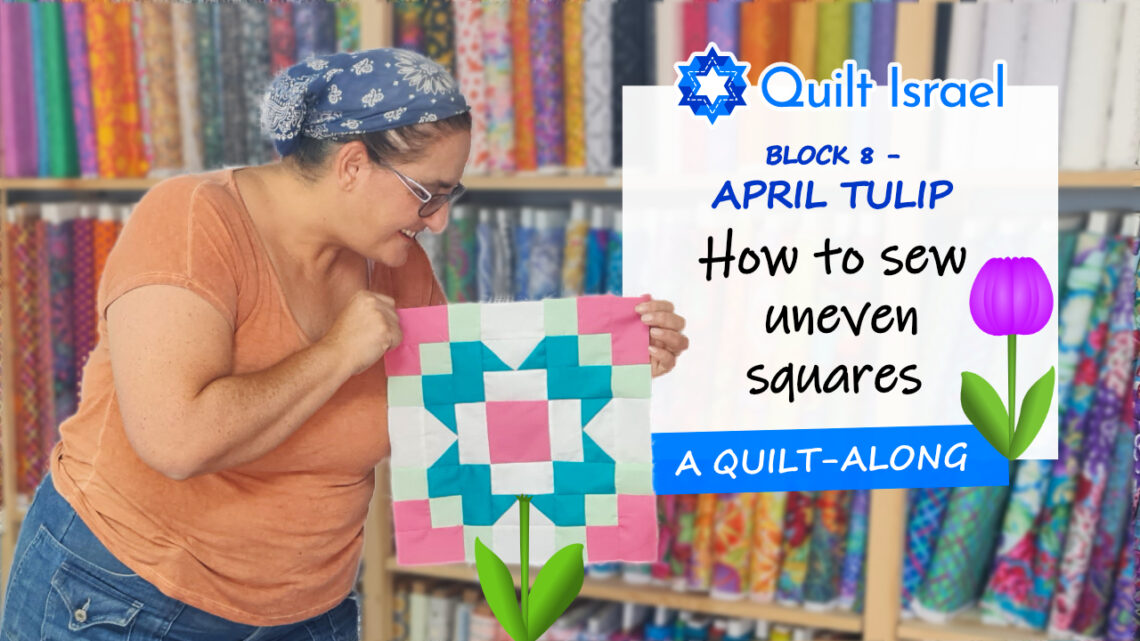
We are back again with the next block in our quilt along. You can check out the video here. This is block 8 out of 16, so we’re halfway done with our blocks. How exciting is that!
This time around, we’re going to be making uneven four patch and uneven nine patch blocks. I like sewing uneven blocks because they look much more complicated than they are. It just adds a bit of extra depth.
In this video, I also go through how to modify a pattern to get rid of pesky Y-seams. The original block had a bunch of them. I got rid of them all. The important thing is to look at the shapes of your block and see where you can creatively modify it to be the block you want to sew.
Although the block looks complicated, there’s very little that we haven’t done before. We are going to use our strip sets to speed up making four patches and four at a time flying geese. If you’d like a refresher course on how to make strip sets watch this video: https://youtu.be/iV9Nvpa2Hqo
For a refresher on four-at-a-time flying geese, see this video: https://youtu.be/0tiDnWPZjio
Here’s what you need to make the block
I just love this block! I hope you do too!
Thank you so much!
Rena
חזרנו שוב עם הבלוק הבא בשמיכה שלנו. את יכולה לראות את הסרטון כאן. זה בלוק 8 מתוך 16, אז עברנו חצי מהדרך עם הבלוקים שלנו. כמה מרגש!
הפעם אנחנו הולכים להרכיב בלוקים מארבעה טלאים לא אחידים ומתשעה טלאים לא אחידים. אני אוהבת לתפור בלוקים לא אחידים כי הם נראים הרבה יותר מסובכים ממה שהם. זה רק מוסיף קצת עומק נוסף.
בסרטון הזה, אני גם עוברת על איך להתאים מיגזרת כדי להיפטר מתפרי Y מטרידים. בבלוק המקורי היו הרבה כאלה. נפטרתי מכולם. הדבר החשוב הוא להסתכל על הצורות של הבלוק שלנו ולראות היכן אנחנו יכולים לשנות אותו באופן יצירתי להיות הבלוק שנרצה לתפור.
למרות שהבלוק נראה מסובך, יש מעט מאוד שלא עשינו בעבר. אנחנו הולכים להשתמש בערכות הרצועות שלנו כדי להאיץ את הכנת ארבעה טלאים וארבעה-בכל-פעם אווזים מעופפים. אם תרצו קורס רענון כיצד להכין סטים של רצועות צפו בסרטון הזה:
https://youtu.be/iV9Nvpa2Hqo
לרענון על אווזים מעופפים ארבעה-בכל-פעם, צפו בסרטון הזה:
https://youtu.be/0tiDnWPZjio
הנה מה שתצטרכו כדי ליצור את הבלוק
אני פשוט אוהבת את הבלוק הזה! מקווה שגם אתם!
תודה רבה לך!
רינה

עברית למטה Hi Quilters! I know it’s been a really long time since I’ve posted anything. It’s been a hard, sad, scary and crazy year

עברית למטה Wow! What a year it’s been. It’s hard to believe that Rosh Hashana is here already. How exciting! There are so many things

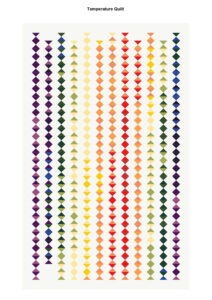
עברית למטה As the year ends and the temperature drops it’s time to think about making a temperature quilt. It’s more fun to quilt when
WhatsApp us